Step 1: Open the User Setup screen from the Systems Configuration tab.
Step 2: Click on ‘New’ to initiate the creation of a new user.

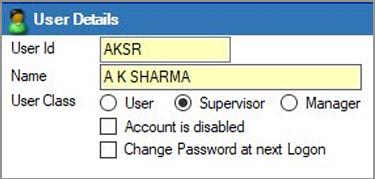
Step 3: Enter a unique user ID (maximum 4 characters) and the user's name. This user ID will be required at login.
Step 4: Select the user class by choosing the appropriate option: “User” for general users, or “Supervisor” or “Manager” for those designations.
Step 5: If you check the ‘Account is Disabled’ option, the user ID will be created, but the account will remain inactive. This can be modified later.
Step 6: Checking ‘Change Password at next Logon’ will prompt the user to change their password upon first login. If unchecked, the password you set here will be used for login.
Step 7: You can set a password expiry date, prompting the user to update their password once it expires.
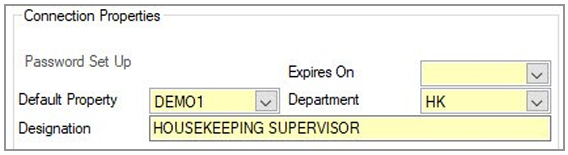
Step 8: Enter the default property, department, and designation for the user.
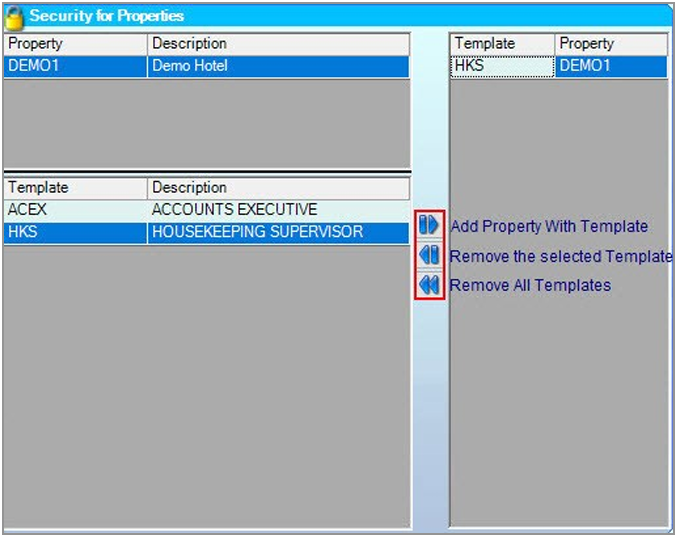
Step 9: Select the property and template, then assign them using the arrow buttons provided. Their functions are labeled in the accompanying image.
Step 10: Fill in additional details, such as company and user information alerts. These are optional and can be added later.
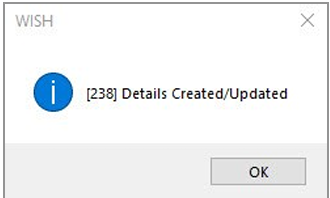
Step 11: Click ‘Save’. A popup will appear to set up the password. Passwords must be at least six characters long and include at least one uppercase letter (A-Z), one lowercase letter (a-z), one digit (0-9), and one special character (this requirement can be configured in system controls).
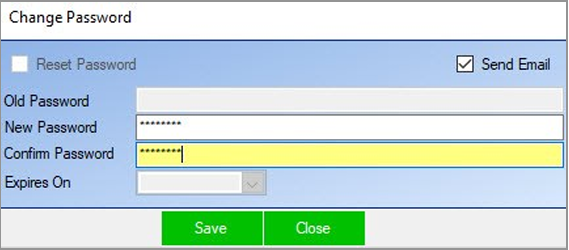
Note: You can also access this option by clicking on the ‘Password Setup’ link in the Connection Properties.
Note: Checking the ‘Send Email’ box will send an email with the user ID and password to the address specified in the Mail option under ‘Other Details’.
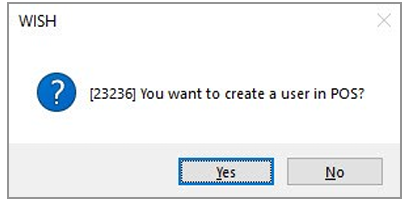
Step 12: Click ‘Save’. A popup will appear asking if you want to create a user in POS. Click ‘Yes’ if WishNET is integrated with POS at your property and you want to create a user there as well; otherwise, click ‘No’.
Step 13: Your new user setup is now complete!